
Looking to stabilize your workspace while impressing your friends with your DIY skills? Believe it or not, the humble saw horse can do the trick. These versatile tools are the unsung heroes of woodworking projects, providing a sturdy base to support everything from lumber to your extravagant ideas. Plus, making your own saw horses is easier than you might think, kind of like riding a bike, but without the risk of falling into a bush. In this guide, he’ll explore everything from the basics to some pro tips on how to keep your newly built saw horses standing strong. Let’s immerse.
Understanding Saw Horses

Saw horses are more than just wooden stands: they are foundational tools that enhance efficiency in your workspace. Traditionally used by carpenters, these supports hold wood while it’s being cut, making tasks safer and easier. By balancing weight and ensuring stability, saw horses take the hassle out of projects.
When he thinks of a saw horse, he envisions a simple yet effective structure. They come in various shapes and designs, but at their core, they serve a vital purpose: keeping materials elevated and secure during work. Whether he’s a weekend warrior or a full-time tradesperson, understanding the value of a saw horse is crucial for successful projects.
Tools and Materials Needed
Before diving into construction, it’s essential to gather the right tools and materials. Here’s a handy list to get started:
Tools:
- Power saw or hand saw
- Drill and drill bits
- Measuring tape
- Level
- Clamps
- Sanding paper
- Safety goggles
Materials:
- Lumber (typically 2x4s)
- Wood screws
- Wood glue (optional for added strength)
Having everything ready allows for a smoother building process. He should always prioritize safety first: make sure to wear those goggles to protect those peepers.
Design Options for Saw Horses
The design of saw horses can range from rustic to modern, depending on personal taste and project needs. Here are a couple of popular designs:
Traditional Saw Horse
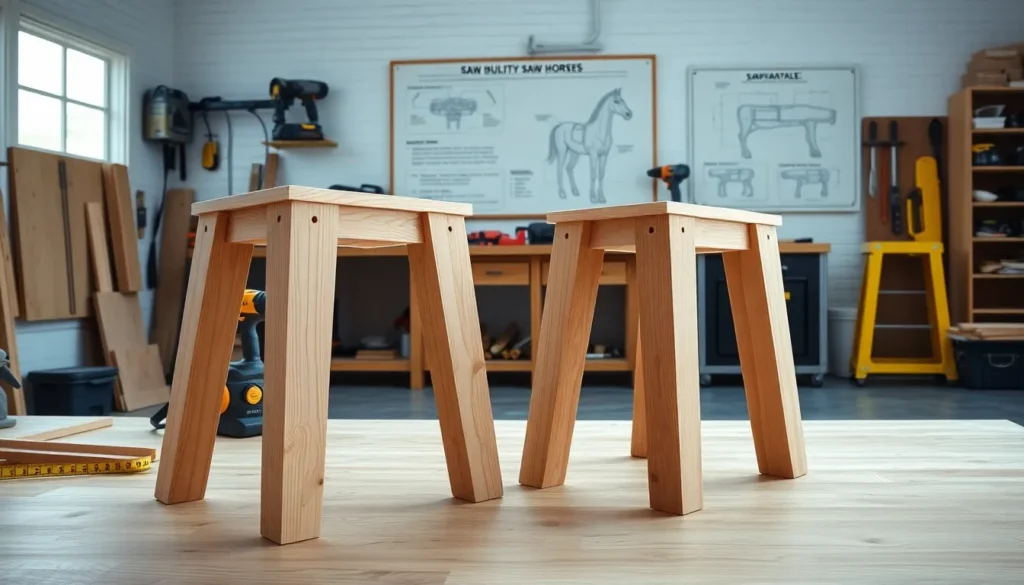
This classic structure consists of two A-frame supports joined by a horizontal beam. For stability, experts suggest keeping the legs angled outward.
Folding Saw Horse
For those tight on space, consider a folding design. These horses can be stored flat when not in use, making them ideal for smaller workshops or garages.
Adjustable Height Saw Horse
Want versatility? An adjustable version can cater to various work heights. This is perfect for tasks that require ergonomic flexibility, whether cutting large panels or working on delicate finishes.
Choosing the right design is all about knowing the projects he’ll tackle and the space available for storage.
Step-by-Step Guide to Building Saw Horses
Here’s where the magic happens. Building your own saw horses can be a rewarding experience, and here’s a simple step-by-step guide to get started:
Step 1: Measure and Cut the Lumber
Begin by measuring the desired height and length. Typically, a height of around 30 inches is standard for most tasks. Cut two pieces for the legs and one piece for the top beam (the bridged part).
Step 2: Assemble the A-frame Structure
Using screws, attach the legs to the top beam, forming an “A” shape. A level ensures everything is even.
Step 3: Add Support
For stability, add a cross brace between the legs. This will help keep the structure strong and prevent wobbling.
Step 4: Sand and Finish
Use sanding paper to smooth out any rough edges. If he wants to keep the wood looking fresh, adding a sealant or paint can protect it from wear.
Step 5: Repeat.
Build a second saw horse using the same method, and voilà. He’s got a pair of sturdy, homemade saw horses.
Tips for Using and Maintaining Saw Horses
Once those saw horses are ready, knowing how to use and maintain them is essential for longevity and performance. Here are a few handy tips:
- Always check stability: Before placing any weight on the horses, ensure they’re level and secure to avoid accidents.
- Use proper weight distribution: When placing large materials, keep the weight centered to maximize stability
- Store them wisely: If using folding saw horses, collapse them for efficient storage, but keep them in a dry spot to prevent wood from warping.
- Regular inspections: Periodically check screws and connections to ensure everything remains tight and secure: tighten or replace as necessary.
With proper care, these saw horses will serve faithfully for years to come.


